User Tools
Site Tools
Site Tools
Table of Contents
WaterCooling tutorial
Here is a small guide concerning WaterCooling. You will find few tips and instructions to build your first watercooling system. I am not responsible if you damage your computer, so be careful and keep in mind that every instruction here may not be suitable for your particular computer. Use your brain first.
Principe
The aims of a water-cooled system are multiple :
- Better cooled system, i.e. more resistant to exterior and interior heat.
- Silent system. Water-cooled system are often noiseless systems if well made.
- More efficient system, especially with the graphic card, considering that new NVidia GTX 7XX generation automatically overclock themselves depending of the temperature (the more you cool, the more it will overclock).
- Show-off and fun. Yes, water-cooled systems are just impressive, especially for those not used to, and it is an entire challenge to build a leak less system.
But, it cost more facing air cooling.
Components
There are few components for a water-cooled system. BEWARE !! Before choosing components, there is an important thing to know: you absolutely need to choose components made with compatible metals. For example, aluminium will oxide with copper and with nickel. But copper has better conductivity. Prefer acetal parts, and choose between copper or nickel for the full circuit, and banish aluminium has possible. You can use anti-corrosion liquids that should reduce these effects, but not stop them.
First, the pump. Need to be noiseless, secure (imagine if it fails!!!) and powerful enough to counter pressure loss. If you have the money, I strongly suggest the MCP655 (or Laing D5, they are the same). This pump is robust, make no noise, and has industrial standards.
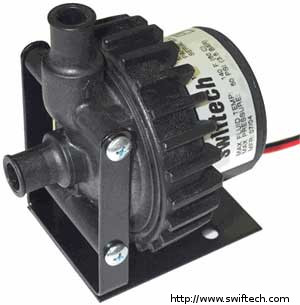 A good thing is to add a top, which enhance performances. A good top for this pump model is the EK-D5 X-TOP CSQ ACETAL.

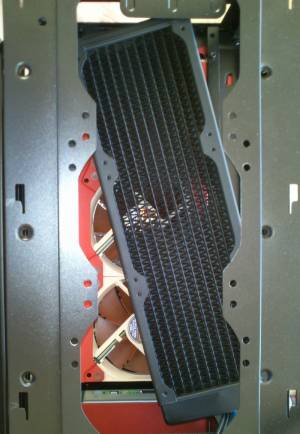
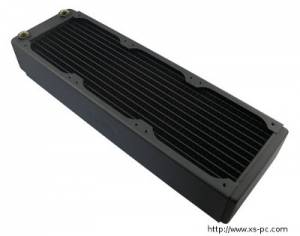
The radiator, to cool the water. It must be design according to the total heat you expect to be generated by your system. The XSPC RX series are good, but may be too thick for some PC tower. If it is your case, you should consider a smaller one. I had a lot of heat to cool, so I choose the RX 360 (the one with 3 fans).
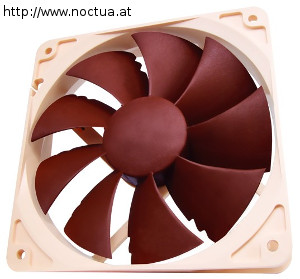
Fans, to cool the radiator (and cool the water of course). I strongly suggest the NOCTUA NF-P12. Secure, robust, no noise, and excellent pressure (to push air through the radiator). It worth the money.
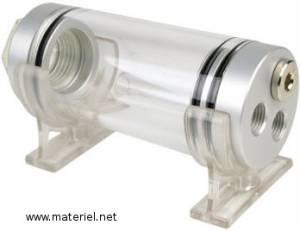
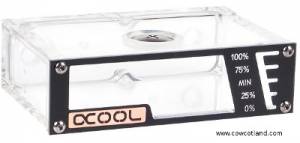
You also need a tank which is in fact an air-trap. There are many tanks available. I have no preferences here; it's up to you, and according to your configuration and design. There are ones that can be mounted in the HDD bay, others that are like cylinders, etc. The tank is important, it helps you regulating the liquid level and avoid bubbles in the circuit.
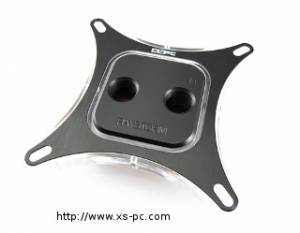
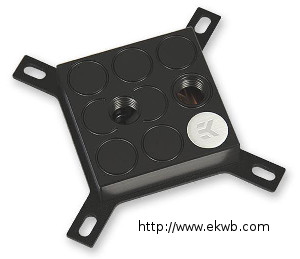
Now, the CPU waterblocks. Depending of your CPU, there are many blocks available. Same thing here, no preferences. EK are excellent, XSPC also, etc. I choose the XSPC raystorm acetal, for 1366 chipset, but the Ek supremacy is also perfect. Be careful to choose a metal compatible with your circuit.
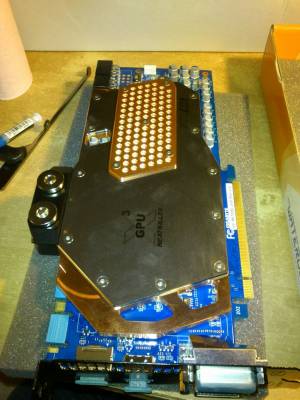
The GPU waterblock is important; its performances will have an important impact on performances because the GPU eats a lot of energy at full charge. Be also careful with the GPU board size, because some constructors do not comply with the standard size of the Nvidia model. In my case, I had an GTX 670 from gigabyte, but gigabyte modified it to use a GTX 680 board, so even if I have a GTX 670, I had to choose a waterblock designed for GTX 680. I took the Heat Killer GPU-X3 for its performances, and imported it from Germany.
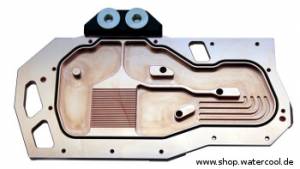
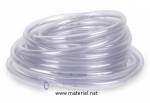
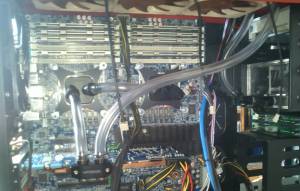
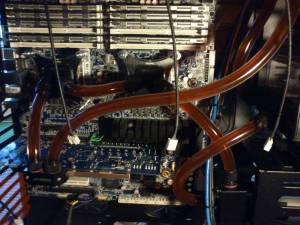
Remain the tubes, the connectors and the liquid. You must not use basic tube, prefer tube specially made for watercooling (derivate from medicine tubes) because they do not bend (which would be catastrophic for your computer !). I suggest using 10/16mm tubes; they are large enough to prevent too much pressure loss. Also, avoid has much has possible direct angles with tubes and connectors, it will cause significant pressure loss. Prefer large curves when possible.
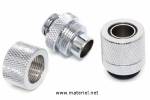
Considering connectors, another time, be careful, choose metals compatible with your circuit. Also prefer Straight Compression Fitting (Embouts à Coiffe in French) to Straight Hose Barb Fitting (Embouts cannelés in French), they resist better to pressure. NEVER use Teflon! This is a watercooling system, with extremely thin sections, Teflon may go in the circuit and seal the WaterBloks of CPU and GPU.
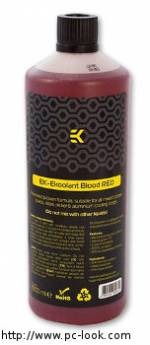
To finish with the liquid, choose a liquid with anti-corrosion and anti-algae properties. This liquid need to be change every year because it will lose its properties rapidly. The colour and UV properties are up to you.
You now have evrything to go. I suggest you buy much liquid than needed to purge the system the first time (or use distilated water).
Building the circuit
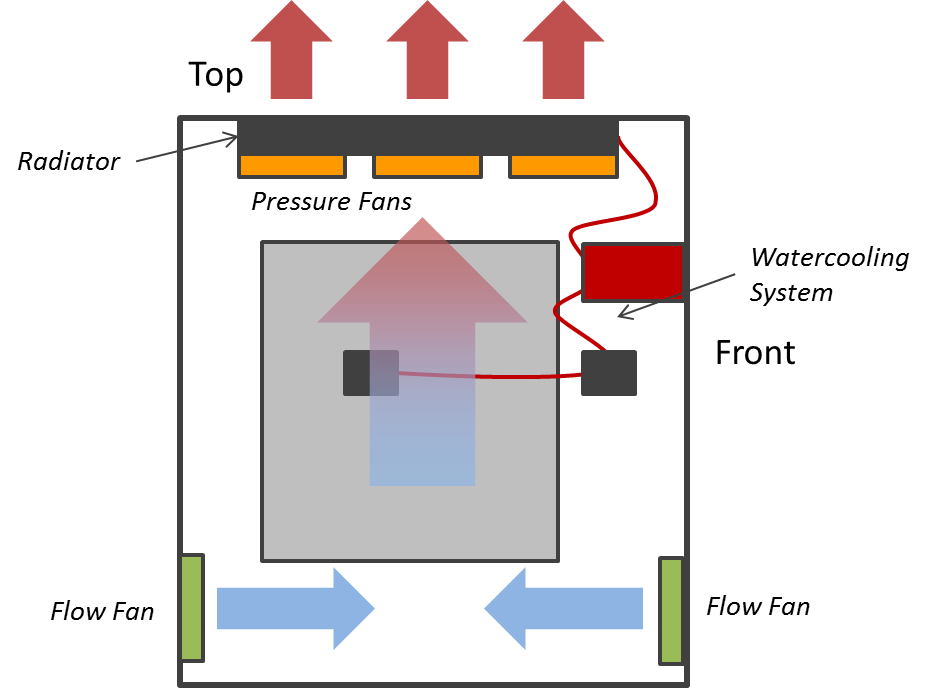
The aim here is to extract air from the case at top. As you know, hot air will go up, and cold down. A good implementation would be to push air in the PC case at bottom, and extract it out at top. This will cool all components that are not connected to the watercooling system, using the watercooling system itself (two birds with one stone).
Here is a schema to explain :
I also suggest putting the pump at the bottom of the circuit. This is a good way to go. No problems with height for the radiator once the circuit is waterproof because of communicating vessels effect. But be sure to be able to push the water inside at beginning. You can also consider that water will get 1-2 °C in each waterblock, so you can chain the CPU and GPU waterblocks without problems.
First, mount each element without connecting them.
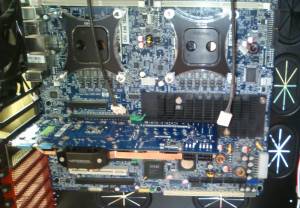
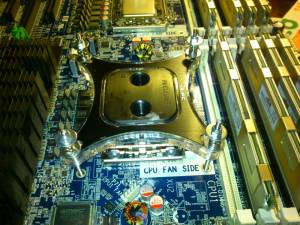
The CPU waterblock (note that I had to tune mine with long screws because my motherboard was not standard). Like with air cooling, you have to use thermal grease, not too much. I suggest to put a few on the CPU, then flatten it using a credit card or something like that.
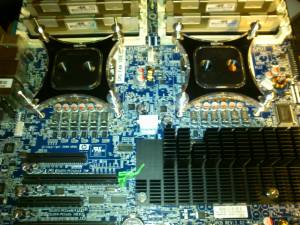
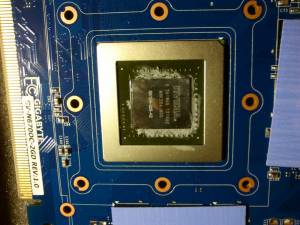
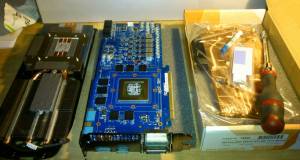
Then, the GPU. Same with CPU, do not use too much thermal grease on the GPU unit. In most case, thermal pads are provided for the GPU memory with the waterblock kit, so you do not have to use thermal grease.
Next the radiator. Fix fans on it, and if possible use rubber screws to lower noises generated by fan vibrations.
Next, install the pump and the tank, and start linking elements with tubes and connectors. Do not force them. Screw them using your hands, that's enough, seal will do the rest.
And fill the system. Warning : DO NOT start it !
Now that your watercooling system is setup, you need to test its reliability, and purge it. You need to activate the pump but not powering on the motherboard and other components so that nothing will be damage if you find a leak (because there will often be leaks). The trick is to bypass the alimentation system: unplug everything related to power, and take the motherboard plug. Then, link the black and green cables :
This will activate the alimentation, and so the pump. Check for leaks, using toilet paper or something like that, by placing them under each connector. Make it run a least 24h, at full pump power to be sure no leaks appear. If you find a leak, purge, and correct. Once you have done a 24h run without problems, purge the circuit, and replace the liquid (I assumed you used low cost liquid or distillate water) with the watercooling liquid (the one that cost more). Your system is ready, connect all power cables, and start the computer. You may encounter warnings from the BIOS because of missing fans. You may take a look at system temperatures in the BIOS, before going any further (check is they are normal).
Testing
Time to test! Make it burn, but slowly, because leaks may occur because of heat, stay vigilant during first times.
Start using a CPU burn test (Linpack, Intel Burn Test, etc), and monitor system temperatures. (HWMonitor for windows (launch it with administrator rights), lm-sensors for linux). Another time, be vigilant of temperature, you may have done something wrong, don't burn your CPU(s) !
If it's OK, make your GPU burn (Furmark, etc), it will come with a huge heat dissipation. Then, do both of burns (CPU, GPU) at the same time, and monitor.
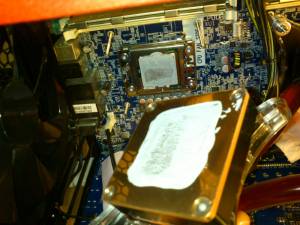
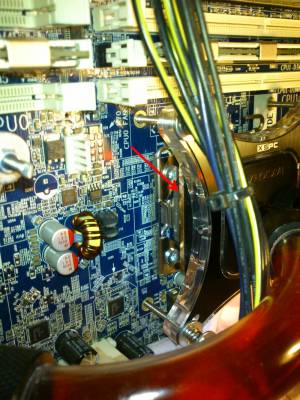
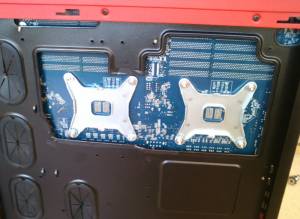
I had a problems with temperatures, because my socket was not standard, so I had to remove the CPU fixation system (my CPUs are only sandwiched thanks to the waterbloks, nothing more, this is dangerous when building (you may easily damage the socket) but I had no choices). You can see on this picture that the CPU was not totally in contact with the waterblock :
That's all folks ! Congratulation, you now have a full water-cooled system. Use it carefully, show it the more you can, taste an intensive usage without noise, and do not forget to change the liquid each year.
